Tampilkan postingan dengan label hacking. Tampilkan semua postingan

Jumat, 30 Juni 2017

theharvester-gui-kali

theharvester-gui-kali

What is theharvester-gui-kali?

It's a graphical frontend to theHarvester written by joshuastrot, for ease of use and speed. As Joshua's version covers Arch as well, I forked it to create a kali linux only branch to enable better version tracking. It's written in PyQt4 and Python 2.

Compatible Platforms:

  • Kali

Universal Dependencies:

  • Kali linux

Installation instructions

You'll need to build this package manually.

Dependencies:

  • python-qt4

Installation instructions:

git clone https://github.com/drosrantt/theharvester-gui-kali.git ~/theharvester-gui
cd ~/theharvester-gui
sudo bash install.sh -d / 
theharvestergui
 
 
source : https://github.com/drosrantt/theharvester-gui-kali 
Baca selengkapnya

Senin, 22 Desember 2014

Aceh Smart City 2015

Ayo Ikut dan sukseskan Seminar dengan tema Aceh Smart City 2015 bersama pakar IT indonesia Onno W. Purbo di prakarsai oleh Konsorsium IT Aceh serta didukung oleh berbagai komunitas dan instansi.
Kegiatan di laksanakan di Banda Aceh 25 Januari 2015.
Fasilitas :
*/Sertifikat
*/Snack
*/Makan Siang


Untuk registrasi dapat merujuk ke link pendaftaran. Buruan Tempat terbatas

untuk info tambahan, dapat menghubungi email : event@sagoe.net


Baca selengkapnya

Sabtu, 31 Mei 2014

wavemon - wireless network monitor application


wavemon is a ncurses-based monitor for wireless devices. It allows you to watch the signal and noise levels, packet statistics, device configuration, and network parameters of your wireless network hardware. It has currently only been tested with the Lucent Orinoco series of cards, although it should work (with varying features) with all devices supported by the wireless kernel extensions written by Jean Tourrilhes.


These screens are currently implemented:

       Info (F1)
              This  is  the  most  "conclusive"  of  the  monitor  screens. It
              displays a condensed overview of all available wireless-specific
              parameters  and network statistics, as well as bar graphs of the
              current signal and noise levels. There are several  sub-sections
              to further separate the information.

              At  the  Interface  section, the name, ESSID and nickname of the
              current wireless interface are shown.

              Below, at the Levels section, you can see four bargraphs showing
              the  quality  of  the link to the next station (if established),
              the level of the received signal, the current  receiver’s  noise
              level  and  the  signal-to-noise  ration,  which  gives  a  good
              approximation of the overall signal quality. The colour  of  the
              signal  level  bargraph  changes from red to yellow and green at
              fixed levels, while the colour  of  the  noise  level  graph  is
              adapted  to  the  current  signal  level  (it turns red when the
              signal-to-noise-ratio gets below 0dB).  If  the  thresholds  are
              associated  with  any  actions,  two  arrows on the signal level
              graph will show the positions of the current thresholds. More on
              this topic later.

              The  Statistics  section  displays packet and byte counters. The
              first four values, preceded RX and TX, show  the  current  total
              number   of   packets   received   and   transceived  since  the
              initialization of the  interface.  The  following  three  values
              display  the  number  of  packets  that  were discarded from the
              interface because of invalid network ids, wrong encryption  keys
              and other errors.

              Below,   at   the  Info  subsection,  various  wireless-specific
              parameters of the interface are displayed. What  parameters  are
              actually  shown may vary and depends on the capabilities and the
              operation mode of your network device. The top  line  shows  the
              current  frequency  the  interface  operates on, the sensitivity
              threshold of the receiver and the transmission power. Below, the
              operation  mode  of  the  interface (managed, ad-hoc...) and, if
              appropriate, the MAC address of the  current  access  point  are
              displayed.  The third line shows the current data transfer speed
              in Mbit/s and the retransmission and  fragmentation  thresholds.
              Whether  or not the details about encryption show up in the next
              line depends on the permissions of the user. Finally,  the  last
              line  displays  the power management parameters, if this feature
              is available and active.

              The last section, titled Network,  shows  -  you  guessed  it  -
              network  parameters,  such  as  the  interface name and hardware
              address as well as  the  interface,  netmask  and  broadcast  IP
              addresses. These parameters are not wireless-related.

              Another keyboard shortcut for this screen is ’i’.

       Level histogram (F2)
              This  is a full-screen histogram plot of the signal/noise levels
              and the signal-to-noise levels. It shows the level changes  with
              time.  Below  the  plot,  the  key  is  shown. If available, the
              terminfo scanline  chars  are  used  in  order  to  enhance  the
              precision of the level plots, i.e. this screen will particularly
              look nifty in a xterm.

       Access point list (F3)
              This screen provides a list  of  MAC  addresses  specifying  the
              access  points  within  range.  This feature is currently _very_
              rudimentary and may not even work for you. Stay tuned, as a more
              useable access point list is on its way.

       Preferences (F7)
              This  screen  allows  you  to change all program options such as
              interface and level  scale  parameters,  and  to  save  the  new
              settings to the configuration file. Select a parameter with <up>
              and <down>, then change  the  value  with  <left>  and  <right>.
              Please   refer  to  the  wavemonrc  man  page  for  an  in-depth
              description of all available settings.

       Help (F8)
              This page will show an online-help in the  near  future;  it  is
              currently not implemented.

       About (F9)
              This  screen  contains  information  about  the  current wavemon
              release.

       Quit (F10)
              The associated function key will immediately exit  wavemon.   An
              alternative keyboard shortcut for quitting is ’q’.

OPTIONS

       -h     print  a  short  explanation  of  the command line arguments and
              exit.

       -i     interface
              override autodetection and use the specified interface.

       -r     generate random levels (for testing purposes).

       -v     dump the version number to stdout and exit.


Baca selengkapnya

Minggu, 09 Februari 2014

menambahkan repo backtrack 5 di ubuntu 12.04

untuk menambahkan repo backtrack di ubuntu 12.04 kita hanya perlu beberapa tahapan, berikut langkah2nya :

tambahkan sources.list berikut pada /etc/apt/sources.list

deb http://all.repository.backtrack-linux.org revolution main microverse non-free testing
deb http://32.repository.backtrack-linux.org revolution main microverse non-free testing
deb http://source.repository.backtrack-linux.org revolution main microverse non-free testing


kemudian download gpg keynya
sudo wget http://all.repository.backtrack-linux.org/backtrack.gpg && sudo apt-key add backtrack.gpg

lalu update 
 sudo apt-get update

kalo sudah berhasil silahkan install aplikasi yang anda perlukan
Baca selengkapnya

Selasa, 04 Februari 2014

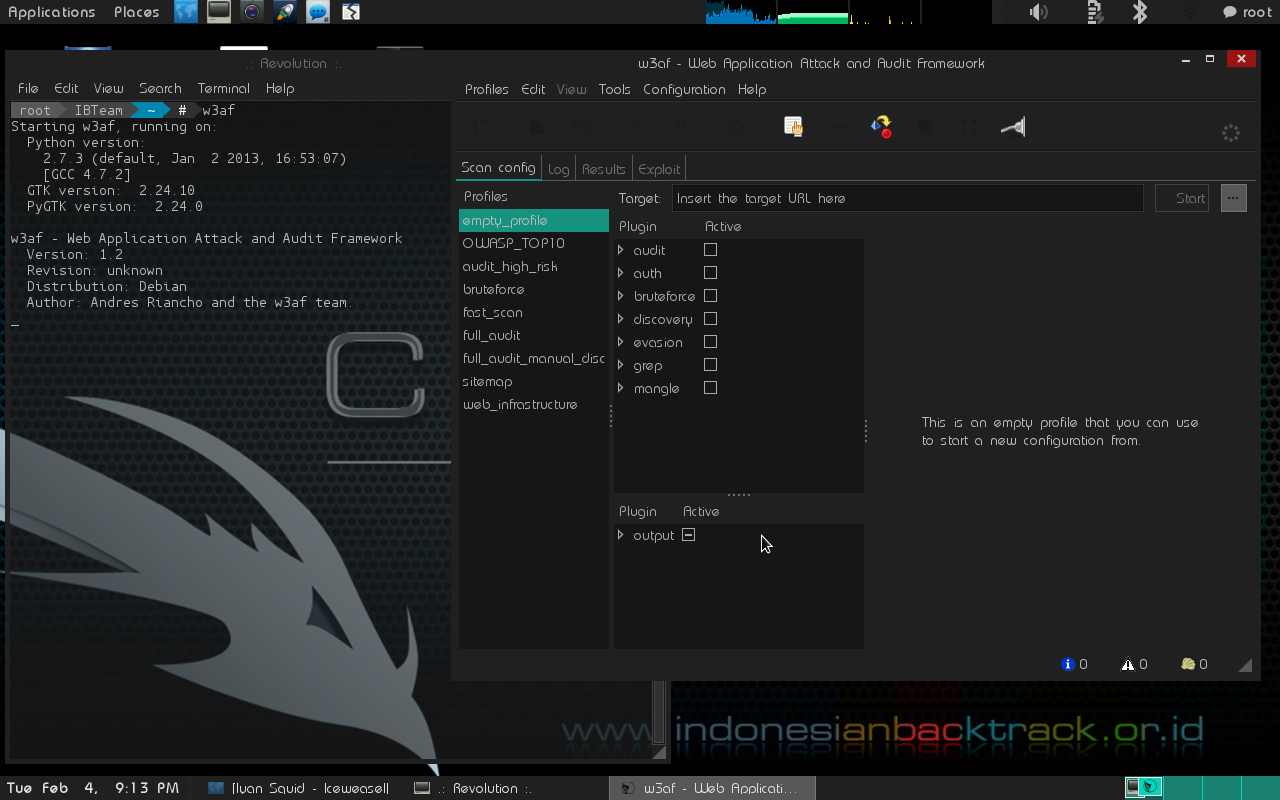
Fix error w3af on kali linux

Ada beberapa temen y menggunakan kali linux mengalami hal ini W3af error dengan sedikit gogling akhirnya ane berhasil fix di lapi ane, mudah2an ini bisa fix juga di kali linux ente2 :D berikut cranya
pastekan 3 baris ini di terminal kesayangan ente

sudo apt-get install libsqlite3-dev libxslt1-dev

sudo pip install clamd PyGithub GitPython pybloomfiltermmap esmre nltk pdfminer futures guess-language cluster python-ntlm xdot

sudo pip install -e git+git://github.com/ramen/phply.git#egg=phply


taraaaa.. w3af_gui FIXED :)


Baca selengkapnya
Sites Crack md5 Hash

Sites Crack md5 Hash

Baca selengkapnya
Plugin firefox for pentest

Plugin firefox for pentest

Firefox Addons For Penetration Testing

1>Firebug—
(useful for the debugging tools that can help you tracking rogue javascript code on servers)—
https://addons.mozilla.org/en-US/firefox/addon/firebug/

2>User Agent Switcher—
(You can use this extension to change the user agent of your browser)
https://addons.mozilla.org/en-US/firefox/addon/user-agent-switcher/

3>HackBar—
(Useful for SQL injection and XSS attacks)
https://addons.mozilla.org/en-US/firefox/addon/hackbar/

4>HttpFox—
(Monitor and analyze all the incoming and outgoing HTTP traffic between your browser and the web server.)
https://addons.mozilla.org/en-US/firefox/addon/httpfox/

5>Live HTTP Headers—
(View the HTTP headers of a website instantly)
https://addons.mozilla.org/en-US/firefox/addon/live-http-headers/

6>Tamper Data—
(View and modify HTTP/HTTPS headers and post parameters.)
https://addons.mozilla.org/en-US/firefox/addon/tamper-data/

7>ShowIP—
(Shows the IP of the current page)
https://addons.mozilla.org/en-US/firefox/addon/showip/

8>OSVDB—
(Open Source Vulnerability Database Search)
https://addons.mozilla.org/en-us/firefox/addon/osvdb/

9>Packet Storm search plugin—
(Search the packet storm database for exploits)
https://addons.mozilla.org/en-us/firefox/addon/packet-storm-search-plugin/

10>Offsec Exploit-db Search—
(Search the Exploit-db archive)
https://addons.mozilla.org/en-us/firefox/addon/offsec-exploit-db-search/

11>Security Focus Vulnerabilities Search Plugin—-
(Search for vulnerabilities in the Security Focus)
https://addons.mozilla.org/en-us/firefox/addon/securityfocus-vulnerabilities-/

12>Cookie Watcher—
(Watch the selected cookie in the status bar)
https://addons.mozilla.org/en-us/firefox/addon/cookie-watcher/

13>Header Spy—
(Shows HTTP Headers on status bar)
https://addons.mozilla.org/en-us/firefox/addon/header-spy/

14>Groundspeed—
(Manipulate the application user interface)
https://addons.mozilla.org/en-us/firefox/addon/groundspeed/

15>CipherFox—
(Displays the current SSL/TLS cipher and certificate on the status bar)
https://addons.mozilla.org/en-us/firefox/addon/cipherfox/

16>XSS Me—
(Tool for testing reflected XSS vulnerabilities)
https://addons.mozilla.org/en-us/firefox/addon/xss-me/

17>SQL Inject Me—
(Extension to test SQL Injection vulnerabilities)
https://addons.mozilla.org/en-us/firefox/addon/sql-inject-me/

18>Wappalyzer—
(Discover technologies and applications that are used on websites)
https://addons.mozilla.org/en-us/firefox/addon/wappalyzer/

19>Poster—
(Make HTTP requests,interact with web services and watch the output)
https://addons.mozilla.org/en-us/firefox/addon/poster/

20>Javascript Deobfuscator—
(Show the JavaScript code that are running on web pages)
https://addons.mozilla.org/en-us/firefox/addon/javascript-deobfuscator/

21>Modify Headers—
(Modify HTTP request headers)
https://addons.mozilla.org/en-us/firefox/addon/modify-headers/

22>FoxyProxy—
(Advanced proxy management tool)
https://addons.mozilla.org/en-us/firefox/addon/foxyproxy-standard/

23>FlagFox—
(Displays a country flag for the location of the web server)
https://addons.mozilla.org/en-us/firefox/addon/flagfox/

24>Greasemonkey—
(Customize the way a webpage behaves by using small bits of JavaScript)
https://addons.mozilla.org/en-us/firefox/addon/greasemonkey/

25>Domain Details—
(Displays Server Type, Headers, IP Address, Location Flag, and links to Whois Reports)
https://addons.mozilla.org/en-us/firefox/addon/domain-details/

26>Websecurify—
(Useful for security assessments in web applications)
https://addons.mozilla.org/en-us/firefox/addon/websecurify/

27>XSSed Search—
(Search the cross-site scripting database at XSSed.Com)
https://addons.mozilla.org/en-us/firefox/addon/xssed-search/

28>ViewStatePeeker—
(ASP.NET viewstate viewer)
https://addons.mozilla.org/en-us/firefox/addon/viewstatepeeker/

29>CryptoFox—
(CryptoFox is an encryption/decryption tool for cracking MD5 passwords)
https://addons.mozilla.org/en-US/firefox/addon/cryptofox/

30>WorldIP—
(Location of the web server,IP,Datacenter,Ping,Traceroute,RDNS,AS etc)
https://addons.mozilla.org/en-US/firefox/addon/worldip-flag-and-datacenter-pi/

31>Server Spy—
(Unveils the technology of the web server (Apache, IIS etc.)
https://addons.mozilla.org/en-US/firefox/addon/server-spy/

32>Default Passwords—
(Search CIRT.net default password database)
https://addons.mozilla.org/en-US/firefox/addon/default-passwords-cirtne-58786/

33>Snort IDS Rule Search—
(Search for Snort IDS Rules)
https://addons.mozilla.org/en-US/firefox/addon/snort-ids-rule-search/

sumber
Baca selengkapnya

Selasa, 05 Februari 2013

Melacak IP pengguna Facebook

Melacak IP pengguna Facebook


sebelumnya ane berterimakasih buat bg RDK dari Street Cyber y telah mengizinkan ane membackup catatan ini :)
langsung aja ..

sebenarnya trik ini sudah lama ingin saya share tapi berhubung terlalu sensitiv dan berbahaya jadinya saya tunda2..tapi ntah kenapa malam ni kepala saya agak baleng so saya share aja hehehe...nah silakan baca dan gunakan baik2 yaaa...
melacak IP pengguna fb

terdapat pengaturan  untuk setiap account facebook untuk notifikasi lewat email. Sehingga, anda dapat mengatur agar ada pemberitahuan lewat email jika ada seseorang mengirimkan pesan ke “inbox” (kotak masuk) facebook. Anda bisa aktifkan “header” email (misalnya di Yahoo) agar bisa menampilkan informasi IP Address “seseorang” tadi. Mengingat informasi IP Address itu masih dalam bentuk encode “Base64? Anda tinggal mengubahnya agar menjadi format IP Address (angka). Setelah ketemu,, lihatlah waktu pengirimannya dan cari lokasi IP Address itu. Selanjutnya,, terserah Anda.

Singkatnya,, inilah tutorial yang bisa Anda jalankan:

    Buka account email Anda (misalnya Yahoo!) dan aktifkan pengaturan untuk menayangkan header email,, jadi kalau ada email masuk akan ditampilkan rute pengiriman email secara lengkap. Silakan baca manual penggunaan email.  
    Aktifkan notifikasi di facebook agar facebook mengirimkan pemberitahuan melalui email.
    Cari target yang Anda curigai,, orang yang Anda anggap menggunakan identitas palsu. Atau apa saja motifnya terserah Anda (sebab saya tidak berurusan dengan motif Anda).
    Kirimkan pesan kepada target yang Anda curigai tadi,, lakukan rekayasa agar dia memberikan jawaban melalui message!
    Setelah dia membalas pesan,, bukalah email Anda. Di situ ada pemberitahuan dari facebook.
    Subject:
    “<Facebook user> sent you a message on Facebook…”, or “<Facebook user> commented on a photo of you on Facebook…”
    X-Facebook: from xxxxyyzz ([OTcuODMuMjEuMjM=]) by www.facebook.com with HTTP (xxxxMail);
    Teks OTcuODMuMjEuMjM= merupakan encode Base64 yang harus Anda convert menjadi plain text (teks biasa). Inilah IP Address dari target yang Anda curigai!
    Convert teks “OTcuODMuMjEuMjM=” dengan converter Base64 (cari di Google!) atau gunakan service online (layanan online) yang bertebaran di internet. Catat IP Address yang menjadi target Anda!
    Gunakan pelacak IP Address yang bisa menginformasikan lokasi geografis dari sebuah ip Address.

Selanjutnya,, terserah Anda.
Catatan :
Jangan menghapus pesan dari “seseorang” yang ingin Anda “balas”. Facebook merancang Kotak Pesan sebagai “percakapan” (conversation). Itu merupakan arsip yang bisa diandalkan untuk meng-kasus seseorang. Jangan matikan notifikasi di account Facebook Anda jika ingin mendapatkan bukti otentik. Kalau Anda sudah memiliki catatan notifikasi dan email dari facebook,, dengan mudah Anda bisa menghajar siapapun yang ingin menteror Anda. Walaupun Anda menyembunyikan email dari informasi profile, memakai bukan-nama-sebenarnya, ataupun informasi palsu,, ingatlah: logika tetaplah logika!!!
Banyak yang merasa aman melakukan teror dari warnet, tetapi, warnet justru paling tidak aman. Banyak “saksi” di sana, aktivitas Anda bisa dimonitor (sebab Anda di ruang publik). Banyak juga yang merasa aman memakai internet pribadi,, lewat ponsel,, dll. ingatlah bahwa account Anda terdaftar ! Melacaknya hanya soal waktu.
Postscript :
Lengkapi facebook Anda dengan aplikasi chat logger (untuk mencatat hasil chatting) dan facebook archiver (untuk mengarsip seluruh content facebook Anda ke hardisk) dan jangan hapus pesan di Kotak Masuk maupun email dari facebook. Social networking kadang berubah menjadi social not-working, tetapi jangan pernah mengganggu orang di facebook. Bagi orang-orang yang pernah melakukan teror terhadap kawan-kawan saya di facebook,, ingatlah : mengungkap kejahatan kalian hanyalah soal waktu.
Semoga bermanfaat


Baca selengkapnya

Kamis, 31 Januari 2013

error subterfuge backtrack 5R3

how to fix :
root@bt:~# apt-get remove subterfuge --purge && apt-get clean
root@bt:~# apt-get install subterfuge

now try to open subterfuge again :D

it's work for me :D
Baca selengkapnya